Running your own Minecraft server means you control the rules, the mods, and who gets in. On Bohemka, a fresh server takes about ten minutes to go from checkout to your friends logging in — no command-line gymnastics required. Here's the whole path.
Before you start
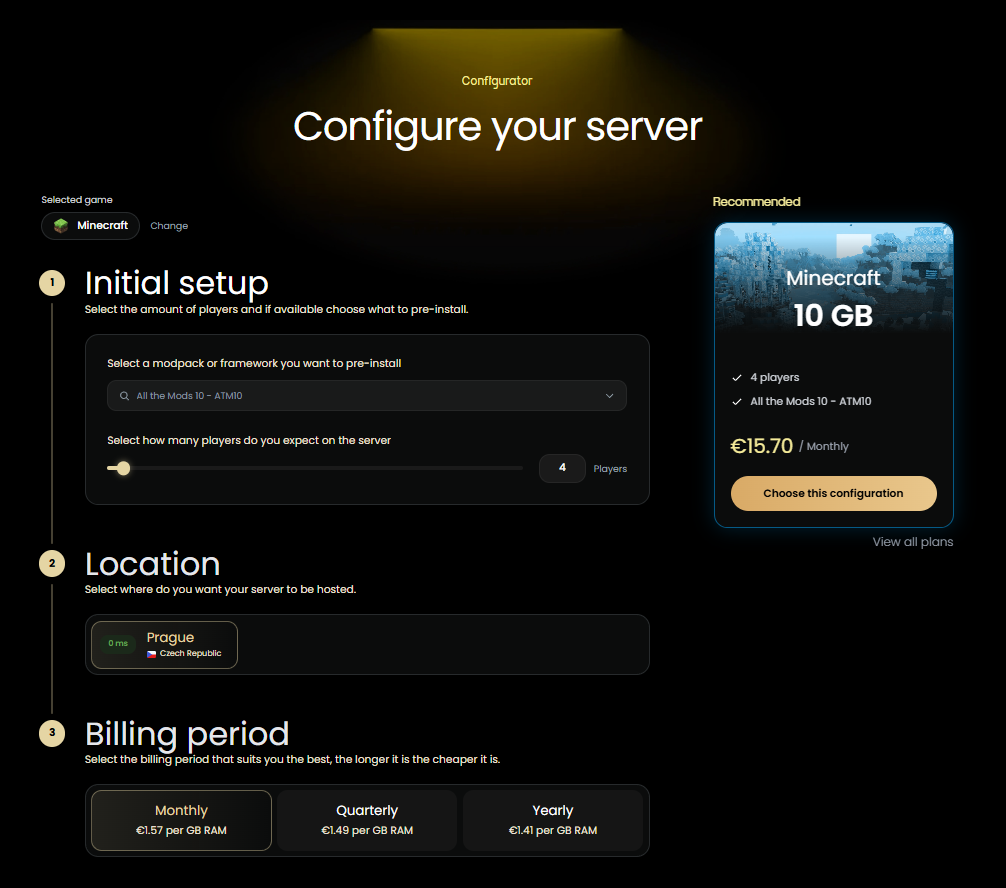
You need to know the modpack/version, and a rough idea of how many people will play at once.
2–4 players: 3 GB RAM.
5–10 players: 4–6 GB.
Heavy modpacks: 8 GB and up.
Not sure? Use our built-in configurator, or upgrade RAM later.
Choose your plan
Head to Game Hosting → Minecraft and pick a plan that matches the RAM figure above. Every Bohemka Minecraft plan includes unlimited slots, full file access, DDoS protection, and a free subdomain — so you're only ever choosing on memory and storage. Plans start at 4.50€/mo.
Deploy the server
After checkout, your server is provisioned automatically in our Prague datacenter. Open the control panel, choose your server, and hit Start. The first boot generates the world and config files — give it about thirty seconds.
Once it's running, your connection address appears at the top of the panel. It looks like this:
# paste this into Minecraft → Multiplayer → Add Server
play.yourname.bohemka.eu:25565
Configure server.properties
From the panel's File Manager, open server.properties. This is where you set the world's behaviour. The values most people change first:
gamemode=survival
difficulty=normal
max-players=10
pvp=true
view-distance=10
motd=A Bohemka Minecraft Server
Save the file and restart the server from the panel for the changes to take effect. view-distance is the one to watch — every extra chunk multiplies CPU load, so keep it at 10 unless you have the headroom.